If your organization has the Parent Account type available, you can add additional people under Your Account > Your Information. If the Parent Account type is available but you are currently using a different account type, you can change your account type on the Your Information page as well.
This article covers the following topics:
How to view your current Account Type
How to change your Account Type
How to add an additional student
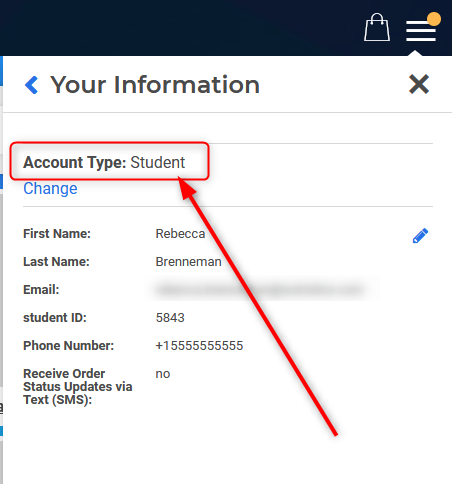
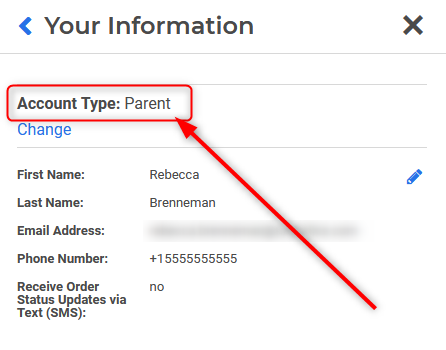
How to View Your Current Account Type
To view your current Account Type, go to Your Account > Your Information. Your current Account Type will be listed at the top.
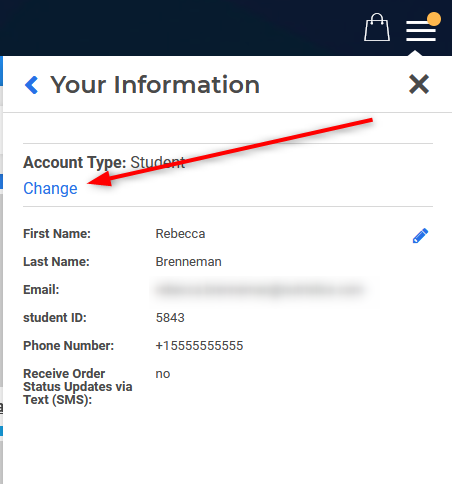
How to Change Your Account Type
- Click on the hamburger (three lines in the upper right corner of your view) > Your Account > Your Information > Change to see a list of all other Account Types currently available for your organization.
- Select the new Account Type you would like to use and click Next.
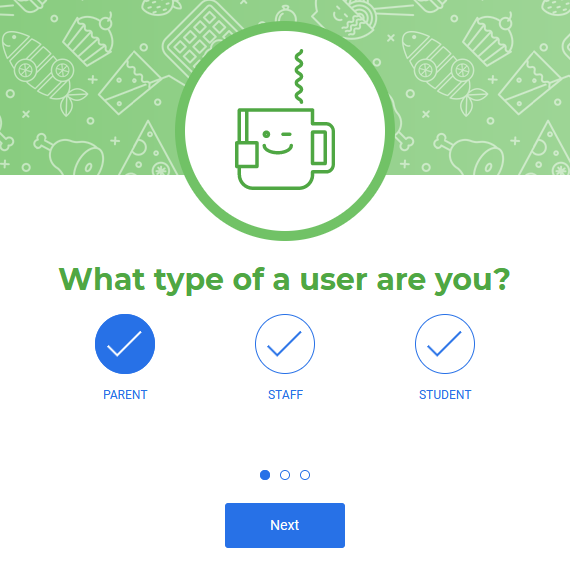
If the Parent Account Type is not listed as an option, this means your organization does not currently allow users to utilize the Parent Account Type. If you would like to request the Parent Account Type be made available for your use, we recommend connecting with your organization's contact, listed under the menu icon (three lines in the upper right corner of your view) > Contact, for continued assistance. - Confirm the rest of your account information is up-to-date and Save your account changes.
- Verify your account is now set to the correct Account Type under Your Account > Your Information.
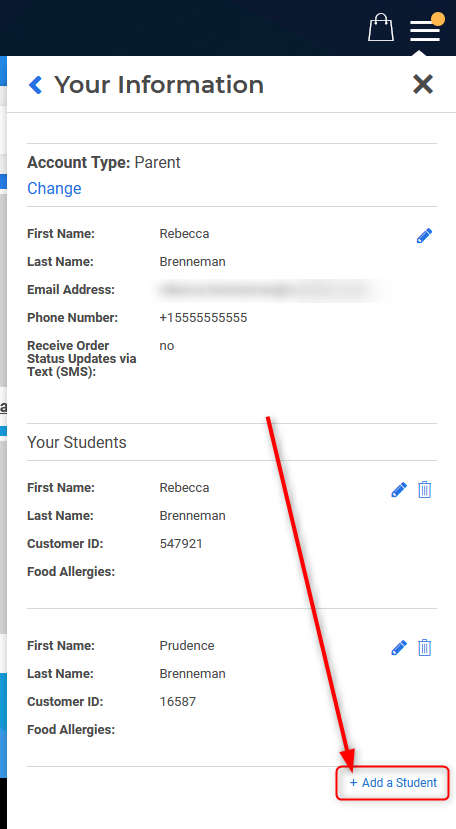
How to Add an Additional Student
Once your account is set up with the Parent Account Type, you can add additional student profiles under Your Account > Your Information by clicking the + Add a Student option.